模块化
我们知道,软件工程里面有一个很重要的概念,叫「高内聚低耦合(High cohesion & Low coupling)」。
意思是说,程序结构中各模块的内聚程度越高,模块间的耦合程度就越低,一个好的内聚模块应当恰好做一件事。
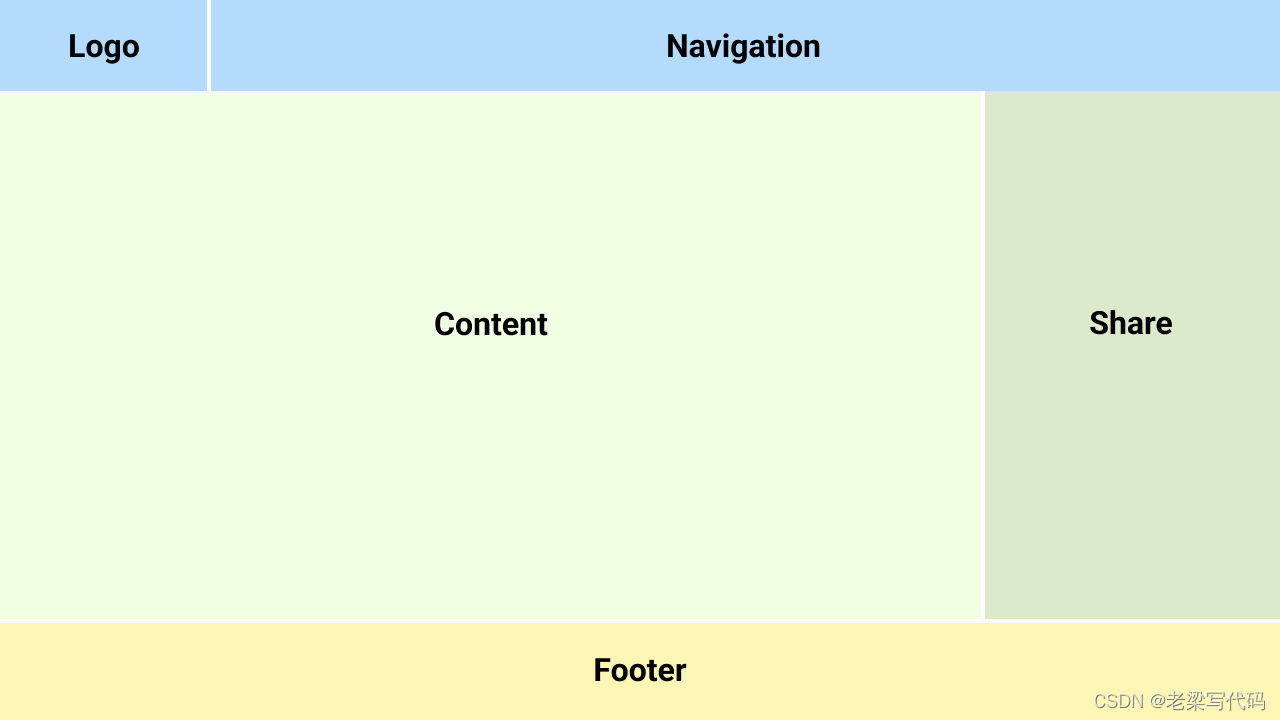
Jekyll 的 includes 便是这个概念的产物。利用 inlcudes,我们可以将页面的通用模块提取出来,单独维护。
例如,所有页面共享的导航、分享、脚注:

includes 用法
按照 Jekyll 惯例,首先创建一个符合约定的文件夹 _includes ,用于存放对应的模块文件。
然后在该文件夹下创建不同模块所对应的 html 文件,再将它们通过 Liquid 的 include 指令引用到目标页面中。
上一篇介绍 Jekyll布局文件时,我们定义过一个默认布局文件
default.html:
_layouts/default.html
<!DOCTYPE html>
<html>
  <body>
    <main class="page-content" aria-label="Content">
      <div class="wrapper">
        {{ content }}
      </div>
    </main>
  </body>
</html>
这里稍加改造,利用 includes 为它增添脚注——footer.html:
<!DOCTYPE html>
<html>
  <body>
    <main class="page-content" aria-label="Content">
      <div class="wrapper">
        {{ content }}
      </div>
    </main>
    {%- include footer.html -%}
  </body>
</html>
footer.html 是标准 HTML 代码,具体可参考minima/_includes/footer.html。
includes 传参
includes 通过模块的概念把通用功能抽象成一个个相对独立的文件,这些文件还可以通过参数来实现个性化。
我们以页面中常用的图片模块为例,在 _includes 文件下创建一个名为 image.html 的文件,它的内容如下:
<figure>
   <a href="{{ include.url }}">
   <img src="{{ include.file }}" style="max-width: {{ include.max-width }};"
      alt="{{ include.alt }}"/>
   </a>
   <figcaption>{{ include.caption }}</figcaption>
</figure>
可以看出,它一共定义了 5 个参数:
- url
- max-width
- file
- alt
- caption
这 5 参数可以由外部直接传入:
{% include image.html url="http://jekyllrb.com"
    max-width="200px" file="logo.png" alt="Jekyll logo"
    caption="This is the Jekyll logo." %}
这样就实现了 image.html 的定制化,有点类似于 class 的构造方法。
include_relative
除了从 _includes 文件夹下引用文件,Jekyll 还提供了另外的方式。
不过命令从 include 换成了 include_relative。顾名思义,引用的文件路径是相对路径。
{% include_relative somedir/footer.html %}
这里的 somedir/footer.html 是一个相对于当前文件的路径,不支持引用上级目录(../)。
下一篇我们来看看如何用 Jekyll 构建个人博客。